Stock Code: 831045
Industrial Automation & Intelligence Solutions
SUMMERY: Installing an automatic welding machine for pipes is not simply a matter of placing the equipment on the workshop floor and switching it on. A successful installation involves checking the workpiece, welding head, power supply, shielding...
Installing an automatic welding machine for pipes is not simply a matter of placing the equipment on the workshop floor and switching it on. A successful installation involves checking the workpiece, welding head, power supply, shielding gas, control system, and production requirements before the first weld is made.
For pipe welding companies, proper setup is especially important because the same machine may be used for different pipe diameters, materials, and production conditions. A well-planned installation helps pipe welding automation deliver stable and repeatable results from the beginning.
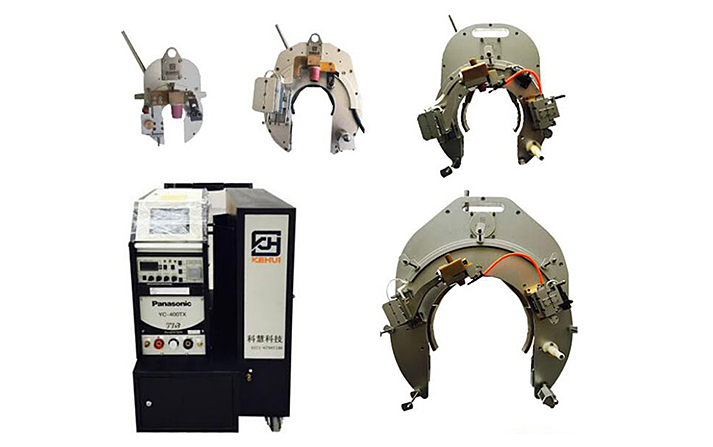
Before the automatic welding machine for pipes arrives, the installation area should be prepared.
Check the following:
For larger equipment, the workshop layout should also allow enough room for loading pipes and positioning the welding system.
In real factories, poor layout is a common source of production problems. A machine may technically fit into a workshop but still be difficult to operate if the operator cannot easily access the pipe to pipe welding joint.
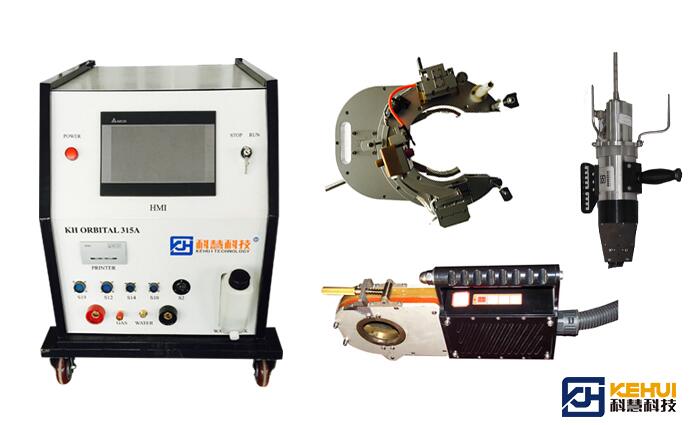
After delivery, inspect the automatic welding machine for pipes before connecting power.
Check:
The purpose is not only to identify transportation damage. It also confirms that the equipment configuration matches the customer’s production requirements.
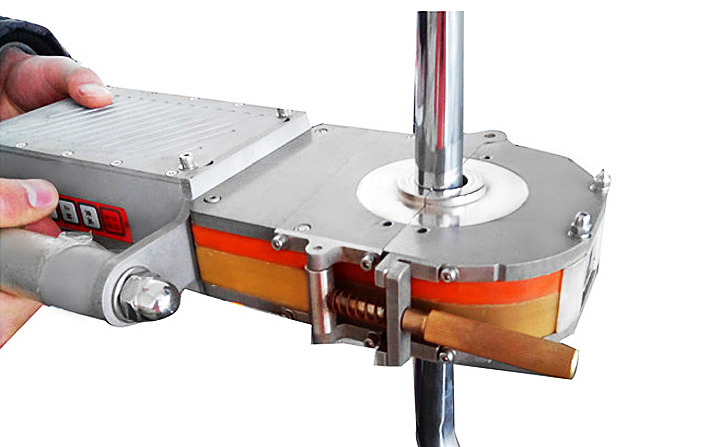
Correct alignment is essential for consistent pipe welding automation.
The welding head must be positioned accurately in relation to the pipe. If the electrode is not correctly aligned with the pipe to pipe welding joint, the result may include uneven penetration, unstable arc behavior, or inconsistent weld appearance.
For different pipe diameters, the setup method may vary. Closed-head systems, open-head systems, and welding carriages each require their own positioning procedures.
The pipe should remain stable during welding.
For automatic pipe welding companies, workpiece movement is one of the easiest ways to create welding defects. Depending on the application, the pipe may be fixed, rotated, or supported by a positioning system.
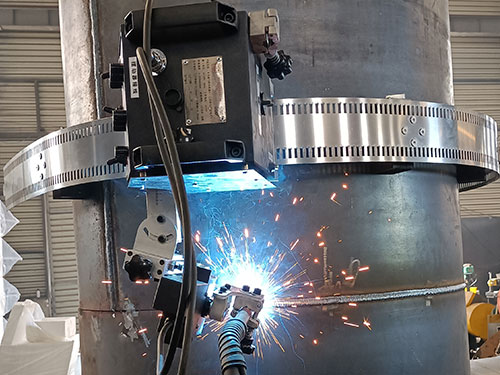
The next step is connecting the power supply, shielding gas, and control system.
Shielding gas is particularly important for TIG-based pipe welding automation. Incorrect gas flow, leaks, or poor connections can affect arc stability and weld protection.
Before production, the operator should verify:
These checks should be completed before attempting the first pipe to pipe welding joint.
There is no universal parameter setting for every pipe.
The correct settings depend on:
For this reason, experienced pipe welding companies normally perform a test weld before starting batch production.
A test weld allows the operator to evaluate arc stability, penetration, bead appearance, and overall pipe to pipe welding joint quality.
The first weld should be treated as a verification step rather than normal production.
The operator should check:
If the result is not satisfactory, parameters can be adjusted before production begins.
This is one of the major advantages of pipe welding automation: once the correct parameters are established, the same welding procedure can be repeated more consistently.
Even when the system is highly automated, operators still need to understand how the automatic welding machine for pipes works.
Training usually covers:
For pipe welding companies, proper training reduces setup errors and helps operators respond more quickly to common production issues.
A manufacturer may provide remote guidance, online training, or on-site training depending on the project and customer requirements.
Commissioning is the final step before regular production.
During commissioning, the machine is tested under actual working conditions. The focus is not only whether the machine can produce one good weld, but whether it can maintain stable performance over repeated pipe to pipe welding joint operations.
A typical commissioning process may include:
This process helps ensure that the automatic welding machine for pipes is ready for the customer’s actual production environment.
Some problems are caused not by the machine itself, but by incomplete preparation.
Common mistakes include:
For pipe welding companies, a few hours spent on proper setup can prevent much more expensive rework later.
Before regular production begins, confirm:
| Item | Check |
|---|---|
| Machine installation | Equipment is stable and correctly positioned |
| Welding head | Correctly aligned with the joint |
| Power supply | Matches equipment requirements |
| Shielding gas | Flow and connections are correct |
| Workpiece | Properly positioned and secured |
| Parameters | Verified through test welding |
| Operator | Trained in basic operation |
| Weld quality | Test weld meets requirements |
A successful installation of an automatic welding machine for pipes is a process rather than a single step. Workshop preparation, equipment alignment, parameter setup, test welding, commissioning, and operator training all influence the final result.
For companies investing in pipe welding automation, the goal should not simply be to start the machine as quickly as possible. The real goal is to establish a stable and repeatable production process for every pipe to pipe welding joint.
With proper installation and commissioning support, pipe welding companies can reduce setup errors, improve weld consistency, and integrate automated welding more effectively into daily production.
The time depends on the machine type, system complexity, and workshop preparation. Basic systems may be installed quickly, while customized automation systems require additional time for alignment, testing, and commissioning.
In many applications, yes. One trained operator can often handle workpiece preparation, machine setup, parameter selection, and monitoring. The exact staffing requirement depends on the production process.
The welding head should be inspected and cleaned regularly. The frequency depends on welding materials, production volume, spatter, and the manufacturer’s maintenance recommendations.
Check the power supply, shielding gas, welding head alignment, pipe positioning, electrode condition, welding parameters, and safety functions before making the first weld.
Yes. Some systems can be installed and commissioned with remote technical guidance. For more complex projects, on-site installation and commissioning support may be recommended.
Many manufacturers provide operator training through online instruction, remote technical support, or on-site training by engineers, depending on the project requirements.
Commissioning time depends on the equipment and application. It normally includes parameter confirmation, test welding, weld inspection, system adjustment, and operator training before production starts.
 TAG:
TAG: We value your message!
Please fill the below, We will customized the solution to your needs.