Track Preparation and Fixation on Large Pipe
Rigid Ring Track vs. Flexible Track: Which Fits Your Pipe
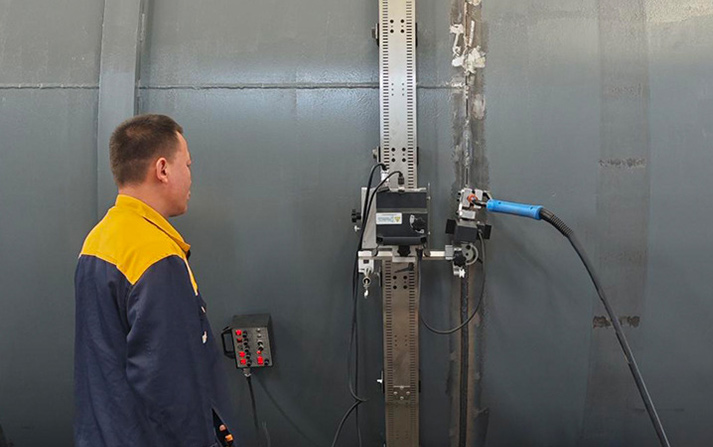
The first decision is which track type to mount. Rigid ring tracks are the standard for large pipe circumferential butt weld work on consistent diameters. They provide maximum rigidity and repeat positioning accuracy. The downside is diameter specificity—a 1219 mm ring won’t fit a 1016 mm pipe, so mixed-diameter spreads need multiple ring sets.
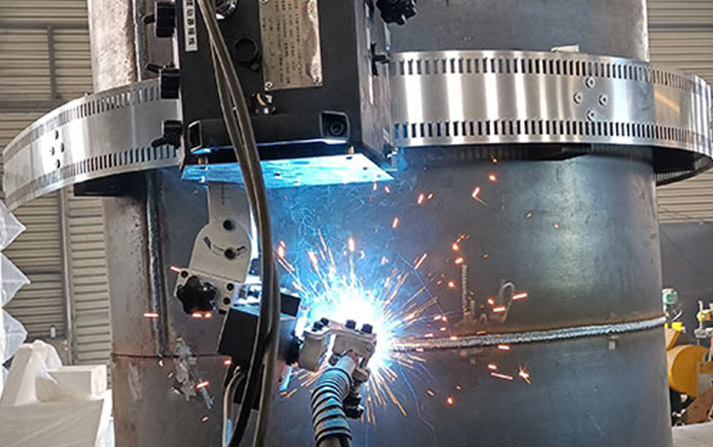
Flexible track installation uses steel or composite bands tensioned around the pipe circumference. The advantage is diameter adaptability: one band covers a range of pipe sizes. The trade-off is rigidity. If tension is uneven, the track surface sags differently at the 12 o’clock and 6 o’clock positions, and that sag goes directly into the travel path.
The Fronius FlexTrack 45 uses flexible rail segments that mount around the pipe with two people required for installation. The Steelmax Rail Runner 2 specifies a minimum curvature radius of 5 m for semi-flexible track. If your pipe is smaller than that, you need a rigid ring track.
Securing the Track: The Safety Point Nobody Talks About
Gullco’s operating instructions are blunt about this: the track must be well secured when installed in any position other than flat on a surface, and the track must have a method of safety backup from falling when elevated—chained at the ends, welded to the workpiece, or equivalent.
This isn’t paperwork compliance. A ring track on a vertical pipe section carries the weight of the carriage, the torch, the cables, and the hosepack. If the magnetic units or clamps slip, the whole assembly drops. Before mounting, check that the pipe surface at the mounting points is clean and free of mill scale. Magnetic units need bare ferromagnetic steel to hold. On coated pipe, the coating must be removed at the track contact area, or a vacuum track fixing system used instead.
Aligning the Track and the Torch
Track-to-Joint Alignment
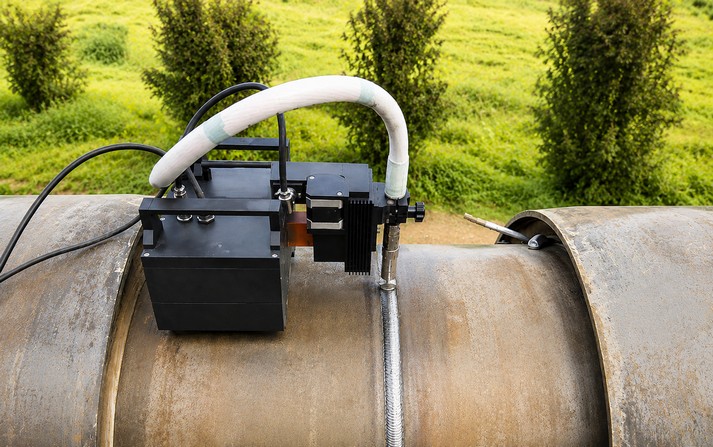
The track must be positioned so the carriage travel path is parallel to the weld joint and at a uniform distance from the pipe end. The Steelmax Rail Runner 2 positions the carriage on the track, then aligns the torch head slot directly over the joint before tightening the carriage arms to the pipe.
On a large pipe circumferential butt weld, this alignment is done at the 12 o’clock position first. Set the track so the torch tip sits at the center of the joint. Then rotate the carriage through 90 degrees and check again. If the alignment drifts, the track isn’t concentric with the pipe. Correct the track mounting before proceeding.
The alignment error most common on large pipe: the track is fixed to the pipe at four points, but the pipe OD isn’t perfectly round. The track follows the pipe’s ovality rather than a true circle. The result is a weld that varies in penetration around the circumference. If the pipe has significant ovality, use arc voltage control to compensate—but fix the track first.
Torch Position and Angle Adjustment
The welding carriage torch adjustment range on a typical system covers up-down and left-right movement. The Fronius FlexTrack 45 offers 28 mm of adjustment in both axes. The ESAB welding tractor setup procedure calls for vertical adjustment of the welding head using the column scale, adjustment of the guide roller device distance both in front and back of the tractor, and horizontal column positioning.
Start with the torch perpendicular to the pipe surface, aimed at the joint centerline. On a circumferential butt weld, the torch should be slightly angled in the direction of travel—a push angle of 5 to 10 degrees for MIG/MAG. Set the contact-tip-to-work distance to match your procedure. This is the number that determines arc length and penetration. Changing it by 2 mm changes the welding current for a given wire feed speed, and that changes the weld.
For oscillation setups, verify that the oscillation center aligns with the joint center. If the oscillation runs wide of the joint on one side, sidewall fusion suffers on the opposite side.
Dry Run and Test Weld
The Dry Run Before the Arc Starts
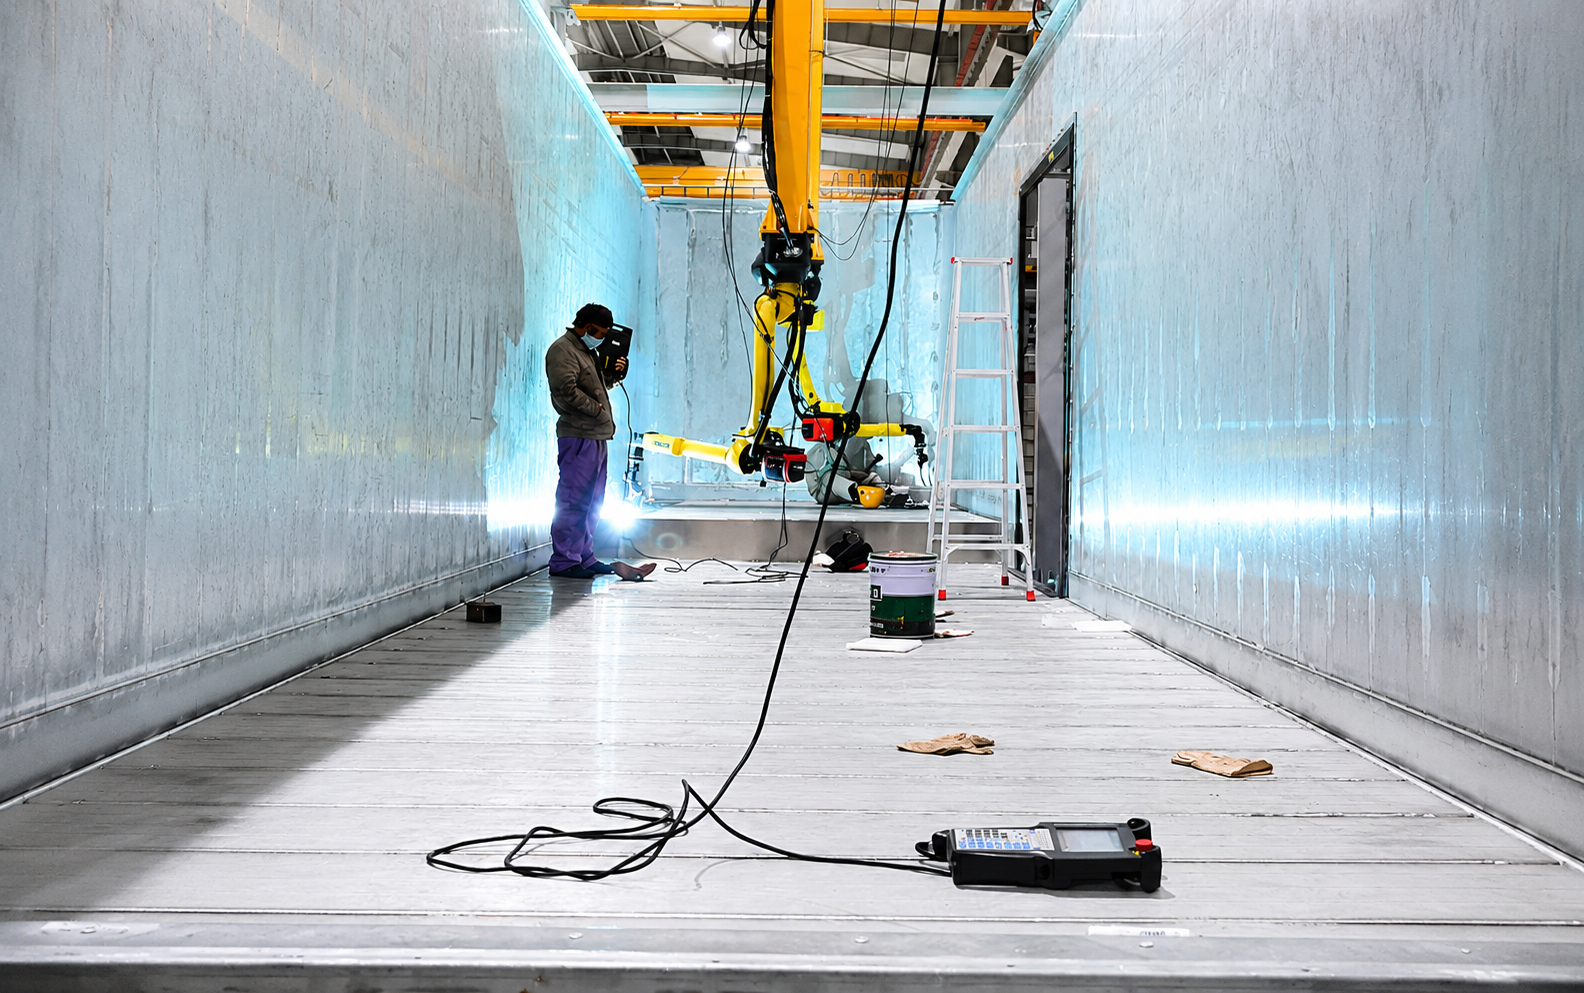
Fronius’s commissioning procedure includes a test run before starting the welding process. This is a dry run—the carriage travels the full circumference with the arc off. Watch three things:
Travel smoothness. The carriage should move without hesitation or vibration. Any jerk at the track joint indicates a misaligned gear rack or debris on the track. Steelmax’s troubleshooting guide lists motor overload as a common error caused by cables blocking the carriage or obstacles in the drive gear path.
Torch position through the circumference. The torch tip should maintain the same relationship to the joint at every clock position. If the stick-out changes as the carriage moves from flat to vertical to overhead, the track isn’t concentric or the torch mount is loose.
Cable and hosepack clearance. The cables must not snag, loop into the travel path, or pull the carriage off line. Adjust cable routing before the dry run, not during the weld.
Parameter Confirmation and Trial Weld
Before the first production weld, run a trial on a scrap joint or a test coupon of the same material and wall thickness. This confirms three things: the travel speed produces the intended heat input, the oscillation settings fill the groove without undercut, and the arc starting and stopping sequence creates a sound tie-in at the overlap point.
On pipe circumferential welding, the start-stop overlap is a critical zone. The carriage begins at 12 o’clock and completes the circumference at the same point. The overlap between the starting weld and the finishing weld must be consistent. Check it on the trial piece. If the overlap shows lack of fusion or excessive reinforcement, adjust the start delay or travel speed.
Post-Weld Checks and Common Setup Mistakes
What to Inspect Before the Next Joint
After the weld completes, before moving the carriage to the next joint, check the track mounting bolts and magnetic units for loosening. Vibration from the welding process can shift a track that was snug at the start. On a multi-joint production run, this check takes 30 seconds and prevents the slow drift that ruins a morning’s work.
Clean the drive gear and rack. Steelmax’s daily maintenance procedure calls for cleaning the gear of the carriage and the rack of each rail, and cleaning the rollers to ensure they rotate freely. Spatter and grinding dust accumulate in the gear teeth and cause the jerking motion that shows up as weld defects at the track joint.
The Five Setup Mistakes That Cause Most Quality Problems
Track not concentric with pipe OD. The torch stick-out varies around the circumference. Fix: check alignment at 12, 3, 6, and 9 o’clock before the dry run.
Insufficient track tension on flexible systems. The band sags at the top of the pipe, causing the torch to move closer to the surface. Fix: tension to manufacturer spec and check sag at the 12 o’clock position.
Torch angle changed between passes. The angle set for the root pass isn’t correct for the fill passes. Fix: verify and adjust before each pass, not just at the start of the joint.
Cables routed through the travel path. The carriage snags mid-weld and the arc stops. Fix: route cables overhead or through a cable management arm, and check clearance during the dry run.
Track mounted on unclean surface. Magnetic units lose holding force, and the track shifts under the carriage weight. Fix: wire-brush the mounting area to bare metal before attaching the track.
Matching the Carriage to the Pipe
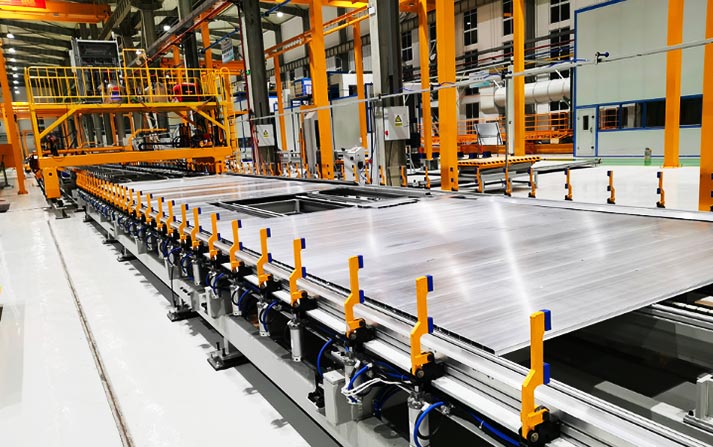
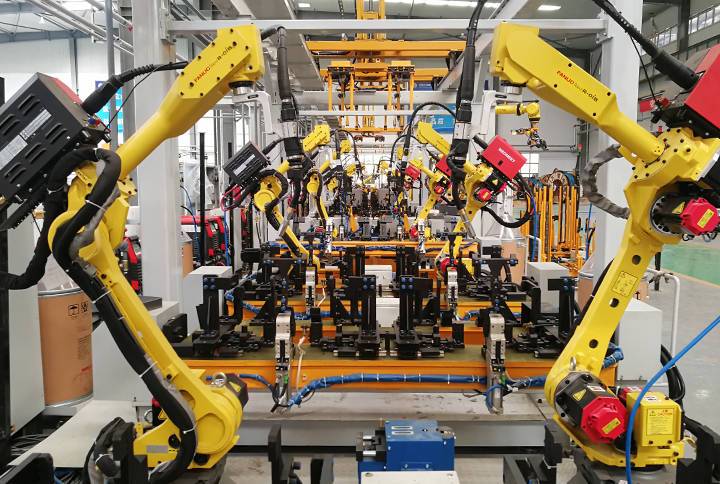
For shops running a large pipe welding production line, the welding track carriage’s setup overhead pays off across the run. For field work where every joint is a different diameter, the magnetic welding tractor skips the setup entirely and accepts the trade-off in precision.
The setup process for an automatic welding carriage for pipe isn’t complicated. It’s just unforgiving. The steps are straightforward—mount the track, align the torch, dry run, trial weld—but skipping any of them shows up in the repair rate. Shops that run the procedure every time, even when the last joint was perfect, are the ones that hit sub-2% repair rates on large pipe circumferential butt weld work. The ones that rush the setup are the ones calling the manufacturer about “quality problems” that aren’t the machine’s fault.
FAQ
How long does it take to set up a welding track carriage for pipe circumferential welding?
For a ring track on a 24-inch to 36-inch pipe, expect 15 to 30 minutes including track mounting, alignment, and torch adjustment. Flexible track installation may take slightly longer due to tensioning. The setup time amortizes across production runs—on a single joint, it’s a cost; on 50 identical joints, it’s negligible.
What’s the most common mistake when installing a welding track carriage?
Mounting the track on a surface that isn’t clean. Magnetic units need bare ferromagnetic steel for holding force. Mill scale, rust, and coating reduce adhesion and allow the track to shift under the carriage weight. Wire-brush the mounting area to bare metal before attaching the track.
Can a welding track carriage handle pipes with ovality?
Arc voltage control compensates for minor ovality by maintaining constant contact-tip-to-work distance. For significant ovality, the track itself follows the pipe’s out-of-round profile, and the torch position varies. If the ovality exceeds the procedure tolerance, the joint may need re-rounding or the procedure adjusted for the actual gap and misalignment conditions.
How do I align the torch on a large pipe circumferential butt weld?
Start at the 12 o’clock position with the torch tip at the joint centerline and the torch perpendicular to the pipe surface. Apply a 5–10 degree push angle for MIG/MAG. Then rotate the carriage through 90, 180, and 270 degrees, checking the alignment at each position. If the torch drifts off the joint centerline, the track isn’t concentric—correct the track mounting before welding.
What should I check during a dry run before welding?
Watch for travel smoothness (no jerking at track joints), torch position consistency through the full circumference, and cable clearance. Any hesitation in travel or change in stick-out during the dry run will be worse during welding when heat and spatter are added. Fix these issues before starting the arc.