Stock Code: 831045
Industrial Automation & Intelligence Solutions
SUMMERY: Reliable orbital welding depends on more than the welding program itself. In a real factory, regular cleaning, calibration, consumable replacement, and systematic troubleshooting all affect weld quality and machine uptime. A well-mainta...
Reliable orbital welding depends on more than the welding program itself. In a real factory, regular cleaning, calibration, consumable replacement, and systematic troubleshooting all affect weld quality and machine uptime.
A well-maintained automatic orbital welder can provide stable production results for long periods. However, even advanced orbital welding tools may experience problems caused by carbon buildup, worn tungsten electrodes, poor gas flow, incorrect calibration, or damaged components.
This guide covers routine maintenance for the orbital welding head, orbital welding power source, consumables, and other orbital welding supplies.
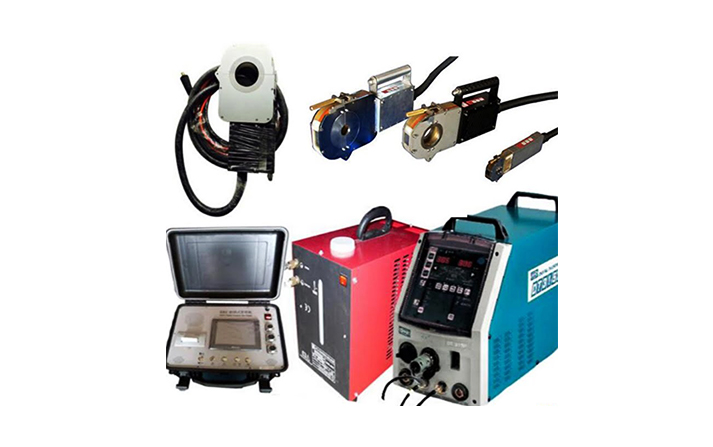
Daily maintenance does not need to be complicated. A short inspection after each production shift can prevent many unexpected failures.
Inspect the inside of the orbital welding head for:
The internal surfaces can be carefully wiped with a suitable alcohol-based cleaner and a lint-free cloth. Avoid excessive liquid or aggressive tools that could damage precision components.
This is particularly important for high purity orbital welding, where contamination may affect weld quality and process stability.
Inspect the tungsten electrode for:
A damaged tungsten can cause unstable arc ignition and inconsistent welds. The replacement interval depends on welding current, material, production volume, and the number of arc starts.
Check:
Loose connections and gas leaks can create intermittent problems that are difficult to diagnose.
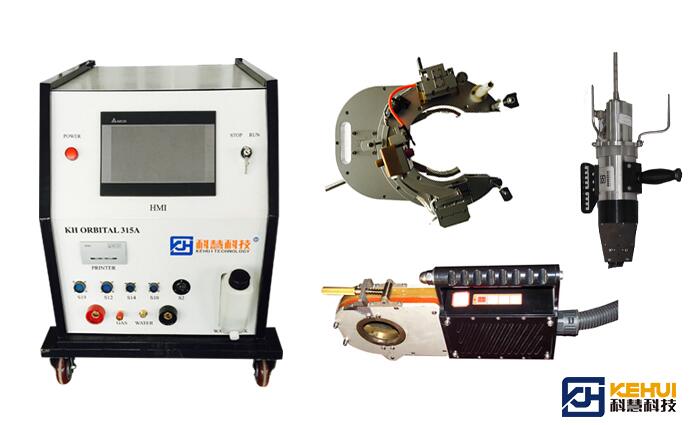
In addition to daily cleaning, the automatic orbital welder should receive a more detailed weekly inspection.
The orbital welding head should move smoothly around the pipe. Check for:
Irregular movement can affect weld consistency even when the welding parameters remain unchanged.
For wire-fed systems, inspect:
Worn rollers or contact tips can cause unstable wire feeding and inconsistent filler metal delivery.
Poor gas flow may cause:
Stable gas delivery is especially important for high purity orbital welding.
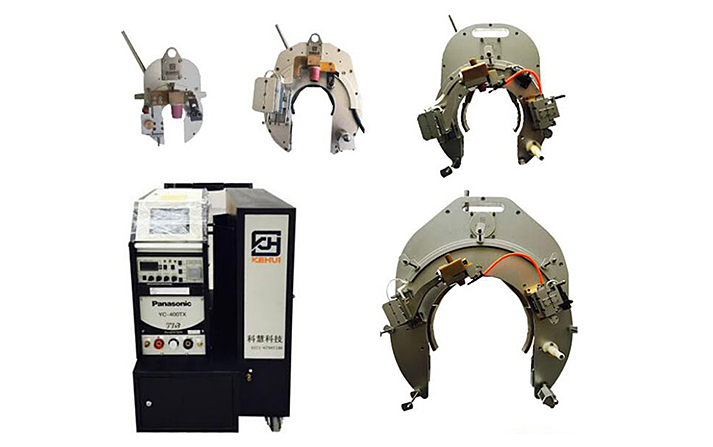
One commonly overlooked task for an automatic orbital welder is periodic calibration.
Over time, mechanical wear and electrical drift can cause actual welding conditions to differ from displayed or programmed values.
Depending on the system, calibration may include:
Annual calibration helps ensure that the orbital welding power source and other system components continue to operate within the required parameters.
For high purity orbital welding, regular calibration can be especially important because process repeatability is often closely controlled.
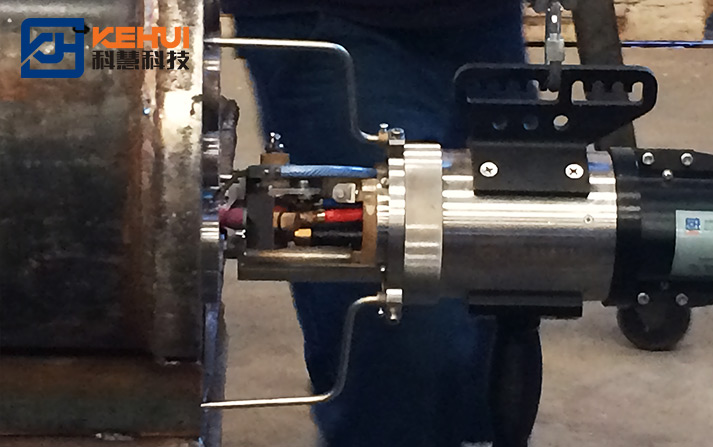
The service life of orbital welding supplies depends on actual usage and wear.
Replace them when they become contaminated, damaged, or difficult to regrind consistently.
Worn contact tips may cause unstable current transfer and irregular arc behavior.
Replace feed rollers when you notice:
Other orbital welding supplies may include:
Keeping commonly used consumables in stock can prevent unnecessary production downtime.
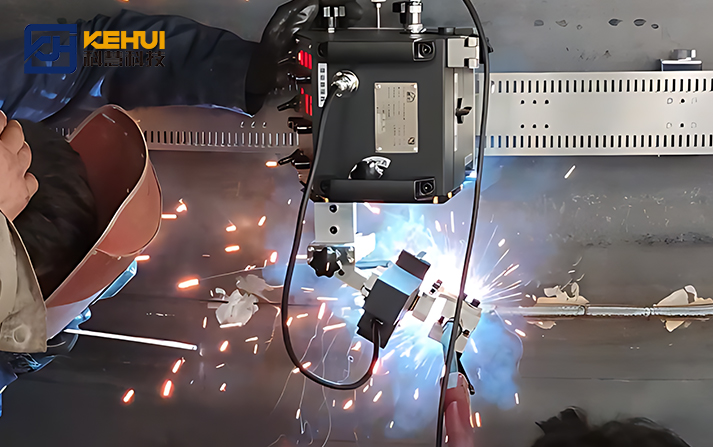
The orbital welding power source controls many important aspects of the welding process.
Regularly inspect:
Dust accumulation can affect heat dissipation and may cause overheating alarms.
Internal electrical maintenance should only be performed by qualified personnel and according to the equipment’s safety requirements.
Different manufacturers use different alarm codes, so the equipment manual should always be checked first.
| Alarm Type | Possible Cause | First Check |
|---|---|---|
| Overheating | Poor ventilation or cooling | Check ventilation and cooling |
| Arc ignition failure | Tungsten or grounding issue | Inspect electrode and connections |
| Gas flow alarm | Low flow or leakage | Check gas supply and hoses |
| Wire feed alarm | Worn or blocked components | Inspect rollers and wire path |
| Motor alarm | Mechanical resistance | Check welding head movement |
| Communication alarm | Cable or control issue | Inspect control connections |
Check:
Check the gas supply, regulator, hose, flow sensor, and possible leaks. This is especially important for high purity orbital welding.
Inspect the spool, wire guide, feed rollers, contact tip, and wire path. Replacing the correct orbital welding supplies may solve the problem.
When an automatic orbital welder produces inconsistent welds, avoid changing several parameters at once.
Follow this sequence:
Look for:
Confirm pipe alignment, joint preparation, surface cleanliness, and material.
Check the orbital welding head for contamination, damage, unusual movement, or worn components.
Review alarm history, program settings, cable connections, and the orbital welding power source.
Inspect tungsten electrodes, contact tips, wire guides, and other orbital welding supplies.
This approach is generally more effective than randomly changing welding parameters.
High purity orbital welding requires strict control of contamination and process stability.
Important maintenance points include:
Regular cleaning of the orbital welding head is especially important because contamination can affect the welding environment.
A maintenance record can also help identify gradual changes in weld quality before they become serious production problems.
The reliability of an orbital welding system depends on the entire system, not only the welding machine.
Regular maintenance of orbital welding tools, cleaning of the orbital welding head, calibration of the orbital welding power source, and timely replacement of orbital welding supplies can all improve weld consistency and reduce downtime.
For an automatic orbital welder, the most effective approach is simple: clean critical components regularly, replace wear parts before failure, record recurring alarms, and investigate root causes instead of repeatedly changing welding parameters.
The orbital welding head should be inspected after each production shift and cleaned whenever carbon deposits, dust, spatter, or other contamination are found. High-purity applications may require more frequent cleaning.
Annual calibration is a practical reference for many applications, but the actual interval depends on equipment usage, quality requirements, and the manufacturer’s recommendations.
Orbital welding supplies such as tungsten electrodes, contact tips, wire guides, and feed rollers should be replaced according to actual wear and welding performance.
Common causes include contaminated tungsten, poor grounding, unstable shielding gas, damaged cables, incorrect parameters, or contamination on the pipe surface.
First identify the alarm category, then inspect the relevant component, including the orbital welding head, gas system, wire feeding system, cables, motors, and orbital welding power source.
Contamination can affect weld quality and process stability. Regular cleaning of the orbital welding head, proper shielding gas control, and clean welding surfaces are important for stable high purity orbital welding.
Yes. Regular inspections and timely replacement of worn components can identify problems before they cause production stoppages. A structured maintenance schedule for orbital welding tools is more effective than waiting for equipment failure.
 TAG:
TAG: We value your message!
Please fill the below, We will customized the solution to your needs.